
Content Solutions DocumentationPublished Date: 2019-09-27 Downloaded: April 1, 2026, 6:57 pm |
 |
Content Solutions Documentation |
Prestashop Integration
2019-09-27
DisclaimerDue to the large number of third party applications and Content Management Systems (CMS), 1Worldsync Content Solutions, does not provide support for third party applications or CMS. This guide is provided as an aide for guidance and suggestions for integration. 1WorldSync is not liable for any actions, damage or loss. If you require support for your third party application or CMS, please contact the owner or company that produced the application for assistance. |
Getting Started with Prestashop Integration
These instructions will aide you with integrating content within Prestashop 1.6.x. These instructions assume the following:
- You have access to the Prestashop Admin interface
- You have access and edit permissions to the Prestashop .tpl (template files)
- You maintain and utilize the “manufacturers” section for the product catalog.
- You use/enter valid manufacturer part numbers in the product’s Reference field for your product catalog.
These instructions are also based on modifying the “default-bootstrap” theme. The line numbers and HTML code sections may vary. For further assistance with Prestashop, visit http://doc.prestashop.com/
Step 1: Get your code
Configure Product Page
Configuring a new Product Page allows you to create a product page script configuration where you can select what content you would like to display. You can create multiple product page script configurations if you manage multiple websites.
In order to implement the Product Page script on your website:
- From the Client Portal, click My Services and choose Configure Product Page
- Name your Product Page script such as “Acme.com – Product Page”
- From the Product Page Settings, you will see a number of available product page components.
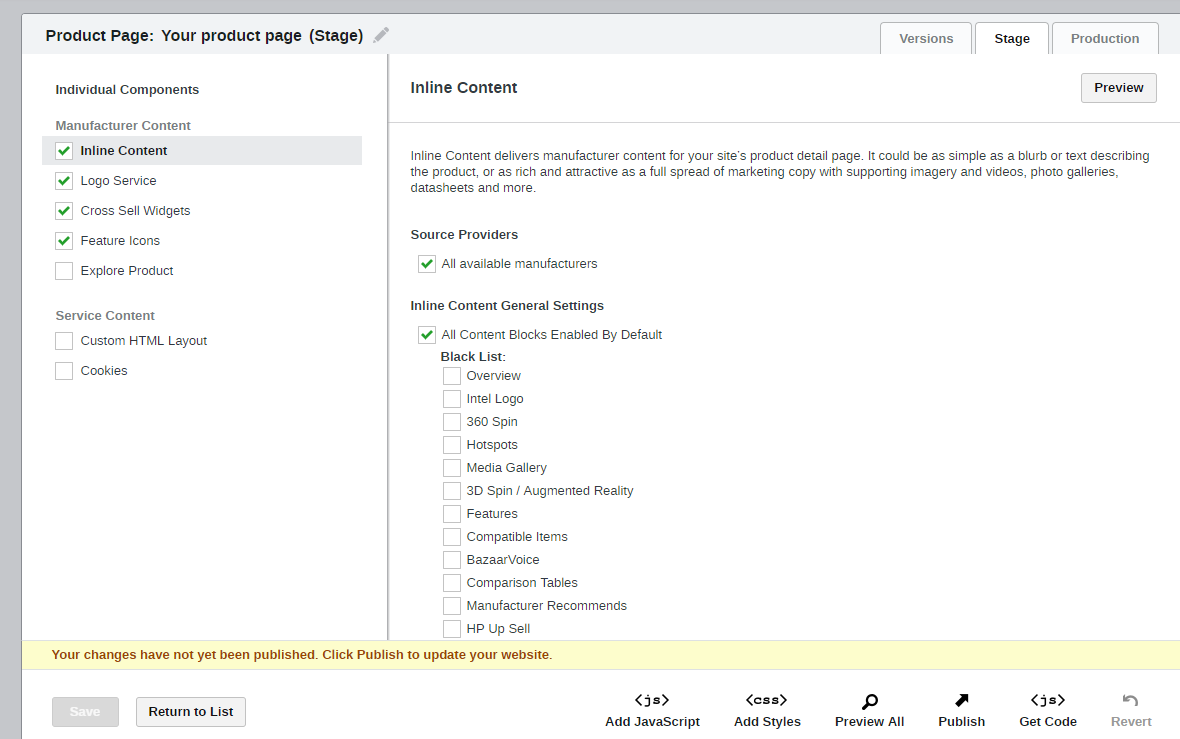
- Choose the content elements you wish to display by placing a checkbox next to each element.
- Click Save & Publish
- Click Get Code
Step 2: Add the Script to your Product Page template file
Open your product page template file. Example: /themes/default-bootstrap/product.tpl
Find the following section near line 203 of product.tpl
</div> <!-- end short_description_block -->
{/if}
|
Insert the Logos div and generated code AFTER so that it looks like:
</div> <!-- end short_description_block -->
{/if}
<div id="ccs-logos"></div>
|
Find the following section around Line 480:
{if isset($product) && $product->description}
   <!-- More info -->
   <section>
     <h3>{l s='More info'}</h3>
     <!-- full description -->
     <div >{$product->description}</div>
   </section>
   <!--end  More info -->
{/if}
|
Add the remaining code including inline content div container and any other blocks as shown below
{if isset($product) && $product->description}
<!-- More info -->
<section>
<h3>{l s='More info'}</h3>
<!-- full description -->
<div id="ccs-inline-content"></div>
<script type='text/javascript'>
var ccs_cc_args = ccs_cc_args || [];
// Prestashop Demo
//ccs_cc_args.push(['cpn', 'CPN']);
ccs_cc_args.push(['mf', 'MANUFACTURER_NAME']);
ccs_cc_args.push(['pn', 'MANUFACTURER_PART_NUMBER']);
//ccs_cc_args.push(['upcean', 'UPC_EAN_CODE']);
//ccs_cc_args.push(['ccid', 'CATALOG_CODE']);
ccs_cc_args.push(['lang', 'LANGUAGE']);
ccs_cc_args.push(['market', 'US']);
(function () {
var o = ccs_cc_args; o.push(['_SKey', 'abc1234']); o.push(['_ZoneId', 'zone1234']);
var sc = document.createElement('script'); sc.type = 'text/javascript'; sc.async = true;
sc.src = ('https:' == document.location.protocol ? 'https://' : 'http://') + '
|
Step 3: Pass Product Info Dynamically
Substitute the default values with the Prestashop variables:
Replace MANUFACTURER_NAME with
{$product->manufacturer_name|escape:'htmlall':'UTF-8'} |
Replace MANUFACTURER_PART_NUMBER with
{if !isset($groups)}{$product->reference|escape:'html':'UTF-8'}{/if} |
Replace LANGUAGE with
{$lang_iso} |
Final Example
Copying and pasting the code below will not work as-is for your site. The _SKey and _ZoneId will be unique to your code. You will need to use the code generated from the portal.
{if isset($product) && $product->description}
<!-- More info -->
<section>
<h3>{l s='More info'}</h3>
<!-- full description -->
<div id="ccs-inline-content"></div>
<script type='text/javascript'>
var ccs_cc_args = ccs_cc_args || [];
// Prestashop Demo
//ccs_cc_args.push(['cpn', 'CPN']);
ccs_cc_args.push(['mf', '{$product->manufacturer_name|escape:'htmlall':'UTF-8'}']);
ccs_cc_args.push(['pn', '{if !isset($groups)}{$product->reference|escape:'html':'UTF-8'}{/if}']);
//ccs_cc_args.push(['upcean', 'UPC_EAN_CODE']);
//ccs_cc_args.push(['ccid', 'CATALOG_CODE']);
ccs_cc_args.push(['lang', '{$lang_iso}']);
ccs_cc_args.push(['market', 'US']);
(function () {
var o = ccs_cc_args; o.push(['_SKey', 'abc1234']); o.push(['_ZoneId', 'zone1234']);
var sc = document.createElement('script'); sc.type = 'text/javascript'; sc.async = true;
sc.src = ('https:' == document.location.protocol ? 'https://' : 'http://') + '
|
Step 4: Save your Product template file
- Save and upload your product.tpl file to your site.
- Go to Prestashop Admin -> Advanced Parameters -> Performance and click Clear Cache
Integrate Showcase for Prestashop
By default, Prestashop will not accept scripts or certain HTML tags when using the editor. To allow scripts to be added:
- Open /classes/Validate.php file
- Find function isCleanHTML around line 408.
- Comment out lines mentioned below by adding “//” in front of each line.
//if (preg_match('/<[s]*script/ims', $html) || preg_match('/('.$events.')[s]*=/ims', $html) || preg_match('/.*script:/ims', $html)) { // return false; // } - Save changes
- Log into your PrestaShop admin panel.
- Navigate to Preferences ->CMS menu
- Click Add New CMS Page button in the upper-right corner
- For Meta Title, enter “Lenovo Showcase” as an example
- In the WYSIWYG Editor, click Tools -> Source Code
- Paste your Showcase code available from the portal
- Click OK and then click Save.
We recommend that you then add the newly added Showcase Page to your Header Menu navigation or create a link in a custom block.
Contacting Support
If you experience any issues or have additional questions, please contact our Customer Service group:
Online: https://portal.cs.1worldsync.com/en-us/Client/Support
Americas/Asia Pacific
Phone: +1.877.276.5560 – select option 2, then press 2
Europe
Phone: +41.21.943.03.77